

Everything You Need for Full Hook Up Camping
After we purchased our new fifth-wheel RV 3 years ago, we began researching what RV accessories we would need for full hookup camping. Unfortunately, we were quickly overwhelmed with a long list of "must-have" accessories for RV newbies.
After three years of full-time RV living, I am here to simplify all this information for you and help guide you to what RV accessories you will ACTUALLY need for your first camping trip at an entire hookup campsite.
For my RV newbies, a full hookup campsite will include; electric (30 or 50amp), sewer, and freshwater connections.
Electric

The electrical pedestal will be placed on the backside of your RV. The location of the pedestal can range from closer to the road (front) or further back (rear) on your campsite.
TIP: Ensure your electrical pedestal switches are turned off before plugging in your RV power cord.
Surge Protector
A surge protector is easily one of the best ways to prevent damage to your RV's electrical systems.
A power surge can happen when something causes too much power directed towards your RV. For example, a power surge can occur due to a campground issue, such as a damaged RV electrical pedestal or acts of nature such as lightning strikes or a fallen power lines.
Surges in power directed at your RV can cause damage to your RV appliances and electrical systems. Having a surge protector is designed to protect your RV appliances and electrical systems from spikes in electricity.
We have never had any of these issues, likely because we have always used a surge protector. It is much easier and cheaper to protect against these energy surges than to pay for costly RV repairs due to an electrical surge.
The surge protector will plug directly into your electrical pedestal and connect your RV power cord into the surge protector.
50 Amp RV Extension Cord
Depending on the length of your RV and where the electric pedestal is located at the campsite, you may or may not need an RV extension cord.
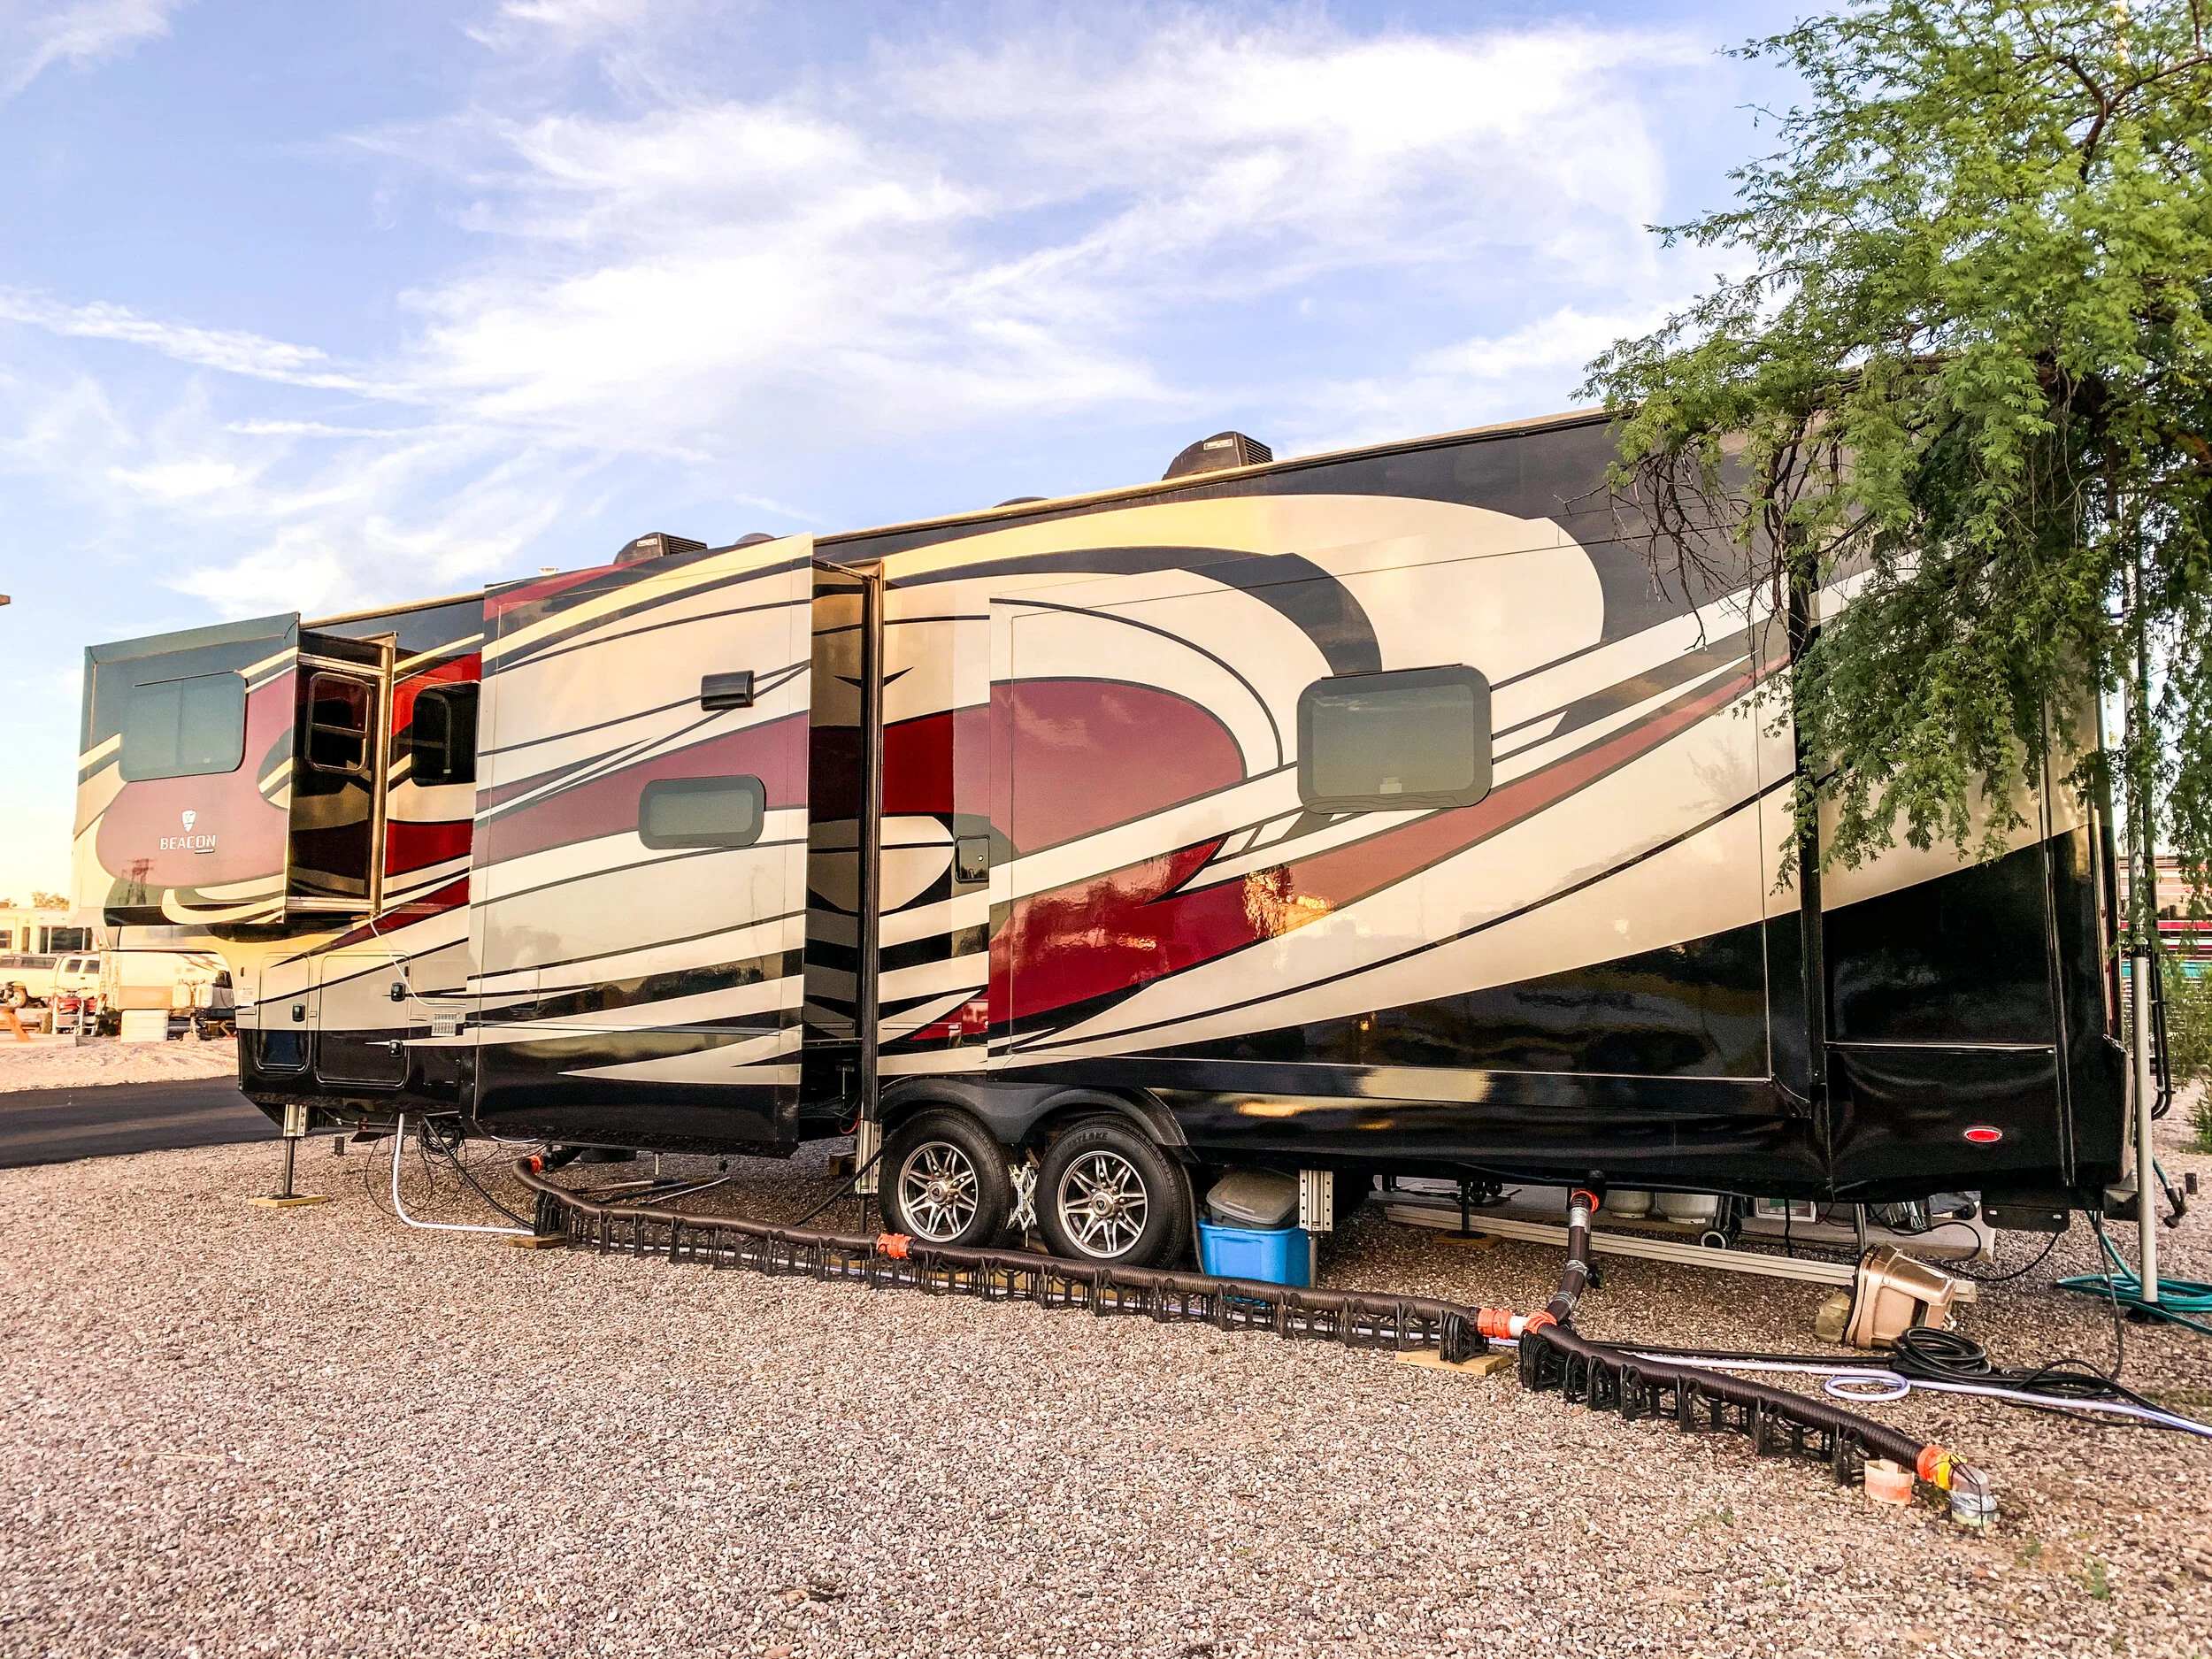
After purchasing our new fifth wheel in Arizona, we hitched on and drove it to our new campsite. We parked, unhitched, leveled, plugged in our surge protector, and THEN went to connect our power cord to the electrical pedestal. That is when we realized we had a huge issue.
At that time, our RV was as far back in the campsite as it could possibly be, nearly touching the electrical pedestal just behind the camper. However, our power cord connection is located towards the front of the RV. After stretching the power cord as far as it could go, we realized the cord was shorter than the length of the fifth wheel and would not reach the electric pedestal. We quickly realized we needed a 50 amp RV extension cord.
Some RVs will have their power cord located in the front of the RV; some will have them in the rear. Same with campsites, every campground is different. Some campsites will have electrical pedestals in the front of the campsite; some will place the pedestal towards the rear of the site.
While using an RV extension cord is not preferred. However, they may be necessary for some situations. For example, we have encountered several campsites in the past few years where an RV extension cord is needed in order to have electricity running to our RV.
So how do you know if you need an extension cord?
Does your RV power cord reach the length of your RV?
Do you have an additional few feet to spare?
If not, purchasing an RV-rated extension cord would be a smart decision.
I can personally attest to there being nothing worse than coming off the road, finally getting parked and unhooked at your campsite only to realize your power cord does not reach the electrical pedestal. And now you have to reposition your RV or, worse, move campsites.
Tip: An extension cord's capacity is determined by the wire used within the cord
• The lower American Wire Gauge rating (AWG), the thicker the wire and higher the rated capacity
• For RV applications, you should use a lower AWG rating
Sewer
Your full hookup campsite will come with one if not two sewer drains. Everyone knows you need to empty your gray and black water tanks somehow and, therefore, will require an RV sewer hose to do this.
But that is not all.
RV sewer hoses and fittings
Like your electrical pedestal, your sewer drain location will differ from campsite to campsite, as will the length from sewer drain to your tank hookup will vary.
Many RVs that are longer than 30 feet will come plumbed with dual hookup connections. Therefore, it is appropriate to estimate you will require at least 20 feet of sewer hose. For us, we purchased three hoses, giving us 30 feet of sewer hose. A rough calculation is 10 feet of sewer hose per tank.
TIP: A wye fitting (y fitting) is a handy attachment piece that will allow you to join multiple sewer hoses at the sewer drain.
In addition to the sewer hose, the second most important piece of equipment is a clear elbow that you can attach to your sewer hose.
One of the most valuable pieces of information you can gain from emptying your tanks is how the drainage looks coming out. I know, gross. But this is so important if you do not want to end up with a giant mountain of poo and TP in your tank, causing a less than pleasant issue to deal with.
By using a clear elbow attachment, this piece will allow you to visualize your waste. It will provide information such as if you are using enough water or whether you need to use more to enhance your breakdown. It will also allow you to keep your eye on the subject but with a hands-off approach.
Tip: When using full hookups, use plenty of water!
Don't just flush like you would in a residential toilet. Instead, we recommend holding the toilet foot pedal down and counting to 10 every time to allow enough water into your tank and enhance the breakdown process.
Sewer Hose Support
The last consideration I have in regards to your sewer is sewer hose support. RV sites can be very unlevel. Some campsites may have the sewer drain a distance from your RV tank connection. Having a sewer hose support will allow for an elevated, protected, and smooth track from the RV tank to the sewer drain.
Not only will this help you prevent a disaster from a sewage spill, but it will also enhance the emptying of your tank. I know we all dream of the day our tank level sensors read 0%!
Holding Tank Treatment
We have discussed the importance of using enough water when flushing the toilet, but the best way to break down your tank contents is by using a holding tank treatment.
While everyone uses and loves something different, I cannot speak more highly enough of a product called Happy Camper. We purchase this product from Amazon, for $49.
We have been using this product for 3 years and have never had an issue. It is a 100% organic, biodegradable, and environmentally friendly product.
We recommend using 1 scoop per 40 gallons (we use 2 scoops for our 80-gallon tank). This has not only provided us the best breakdown but the best odor control as well.

Water

The bare minimum you will need to connect your RV to your freshwater connection is one drinking hose.
Many RVs today come with a fantastic feature called a black tank flush. This feature allows you to connect a hose directly to an inlet valve to essentially power wash your black tank clean.
In this case, having a second hose is needed unless you want the hassle of disconnecting your drinking hose from your RV.
We also own a third hose. I know this might sound excessive, but for me, this is one of the most important ones we own.
When temperatures dip below freezing, the risk of your water lines freezing increases dramatically. Not only can frozen water lines be harmful and frustrating, but they can leave you with costly repairs. By using a heated water hose, you can prevent your water lines from freezing.
If you plan to be in cold climates or even overlap into cooler seasons, this is a must-have. We use ours maybe 2-3 times a year, but I wouldn't be caught without it.
A two-way hose splitter
An easy way to keep two hoses hooked up from the same water spigot (for purposes such as flushing your black tank, washing your RV/vehicle, watering plants, etc.) is by using a two-way hose splitter.
This very inexpensive but handy gadget is a great tool to use.
Water pressure regulator
Like a surge protector used to prevent electrical surge damages to your RV, a water pressure regulator will prevent surges in pressure or high water pressure at your campsite. A surge or high water pressure can be enough to blow your RV water lines.
TIP: Set your water pressure regulator gauge to 40-45psi for the best and safest water pressure.
Water Filter
Lastly, clean water is very important if you plan on drinking it, but it is crucial for the health of your RV plumbing. A water filter will remove sediment and contaminants from your water. There are various kinds of water filters. Many people choose to start by using an inline filter. Down the road, you can upgrade to a complete water filter system. Some RVs even come with a filtration system, just requiring the purchase of filters.
Of course, all these are not 100% necessary the first time you go camping, but if you plan to go full time or for many camping trips, I highly recommend all these products to provide you with the safest and best camping experience possible.